
The fastest path to better wildlife photography is two parallel disciplines.
- Spend hours with your camera until the controls move under your fingers without thinking about them, and
- spend hours with your subjects until you can read what they’re about to do.
Gear, technique, and luck come third. Time on the camera and time in the field are first.
Wildlife photography is two crafts at once
It’s photography and it’s wildlife. The synthesis is what matters, but you have to bring something to both sides of the equation. Most photographers I meet have one side and not the other. Strong technical photographers who can’t read a moose’s body language. Patient naturalists who can’t recover from a missed exposure. The ones who improve fastest work both halves at the same time.
Practice your camera at home
I’m a big believer in shooting manual exposure as a teaching tool. Not forever. As a way to make the relationship between ISO, shutter speed, and aperture stick. Once it’s in your hands and in your head, you can switch to whatever mode the moment calls for. Until it’s in your hands, every mode is just guessing.
Daily practice with the camera does more than weekend deep dives.
I came to photography from years of playing music. A guitar on the wall isn’t a guitar that’s getting played. Ten minutes a day for a month with your focus modes, exposure compensation, and back-button focus will outperform one all-day session, and you don’t need a $10,000 expedition to do it. Sit on the couch. Practice.
Learn one species deeply before you chase the list
Tom Mangelsen calls it the “trophy animal” phase. Wanting to collect a frame of every species, ticking boxes. Most of us go through it. The ones who get past it pick a subject and stay with it. An hour with one bear teaches you more than five minutes with five bears. Stop running the list.
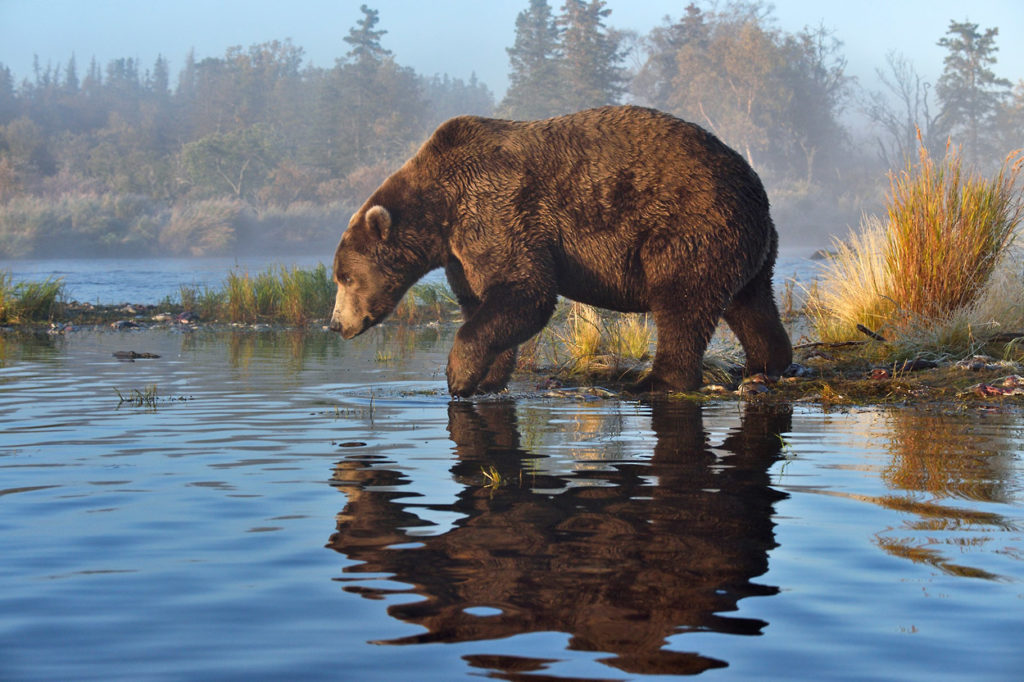
Read light first, then find the position
Most photographers find the animal first and work with whatever light they got handed. Flip that. Look at the light. See where the shadows fall, where the highlights land, where there’s a shaft cutting through trees. Then figure out where the animal needs to be relative to that light, and put yourself in the spot that makes it work.
Shoot for behavior, not for the species portrait
The shot of a bear standing in a meadow is fine. The shot of a bear pulling a salmon off a riffle is the photograph. Behavior, gesture, interaction. That’s what separates a record shot from something worth printing. Wait for the moment, not the subject.